How to Find Duplicate Photos on Your Laptop (and Get Rid of Them!)
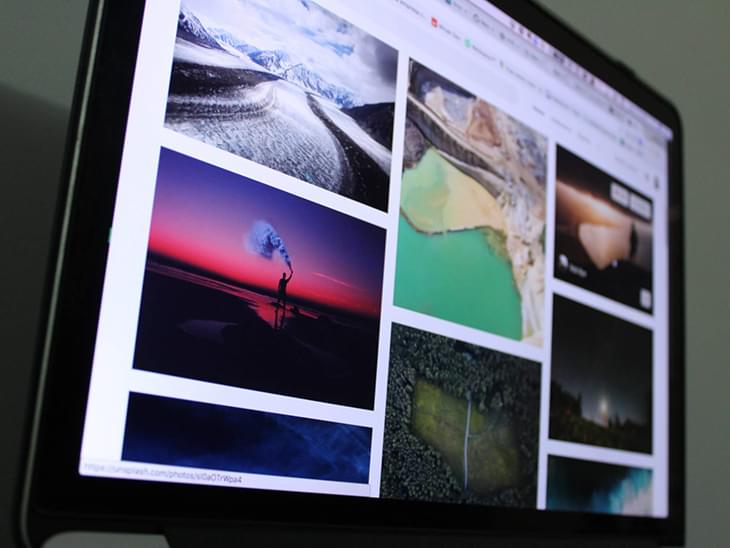
We all love photos and store them everywhere: on our laptops, phones and Cloud storage. While it's great to have all your precious memories at your fingertips, there's one problem - image files are notorious space hogs, especially if you have lots of duplicates.
Duplicate photos waste precious space on your laptop and often make things confusing when you want to know which photo is the original and which is the duplicate. They also have a knack for appearing in the most unlikely folders, making your desktop a complete mess, and slowing down your laptop because loading all the thumbnails takes time. In short, duplicate pictures are a nuisance and they have to go. Here's how to get rid of them and make sure your albums stay organized.
How to Remove Duplicate Photos Manually and Automatically
You can delete a duplicate image just like you'd delete any other file or folder. Select it, hit the “Delete” key and it will be moved to the Bin. Sounds simple, right? Well, deleting the files is easy - it's finding all those duplicates that can be problematic and time-consuming. Let's have a look at how you can find duplicate photos manually.
First of all, identify all the folders where you store photos. Most of the time, it's the Pictures folder and its subfolders where you'll find the majority of unneeded copies. However, you may have duplicates in other folders including:
- The Desktop folder, especially if you drag and drop images there when you copy them from your camera or phone's SD card;
- The Downloads folder if you download photos from storage and sharing services like Google Photos;
- Your local Dropbox folder if you have the photo sync option enabled and all the photos from your phone get uploaded to Dropbox automatically;
- Folders created by photo editing software like Lightroom, Photoshop, etc.
Start by opening your Pictures folder, switching to “List” or “Table” view to have all the file info available at a glance, and sort all the images there by name. That way you'll immediately see copies of the same photos. All will have the same name or name variations like IMG_000 and IMG_000(1). The number in brackets gets added by some systems to prevent overwriting the original photo even if the image files are completely identical.
An even more error-proof way to find your duplicates is to sort your photos in the Pictures folder by date - image files with exactly the same modification date are duplicates. Make sure the images you think are duplicates have the same modification timestamp as the original and then preview them, just to be on the safe side.
This method is pretty good for a quick cleanup of duplicate photos but it has several flaws. The biggest problem is that by using these simple sorting tricks you can effectively find duplicates in only one folder. For example, if your original photo is in your Pictures folder and its duplicate is in the Downloads folder, you won't be able to spot the duplicate unless you compare files in the Pictures folder with other folders on your laptop.
Another major issue with deleting duplicate pictures manually is that there's a lot of room for mistakes. It's only too easy to accidentally delete a precious photo that you want to keep. The solution? Use a program that can find and get rid of duplicate photos automatically.
There are some real advantages in using a duplicate photo finder: it’s fast, accurate, and you’ll be able to scan your whole drive in minutes to find duplicate photos across all of your folders.
Unlike you trying to figure out which files are duplicates based on filename only or having to compare photos visually, a program like Easy Duplicate Finder uses algorithms to compare files using their hashtags. Since each unique file has a unique hash value, this method is 100% accurate for finding duplicate photos.
Selecting and deleting duplicate pictures in the app is much faster than going through all your folders, peering at filenames, and deleting duplicates one by one. Easy Duplicate Finder will scan everything in about five minutes and list duplicate photos in groups. You will then be able to preview each photo marked for removal and then use bulk-selection options to select and remove unneeded files in one click. It really doesn't get any easier.
How to Keep Your Photos Organized
Now that you've cleaned up all the duplicates, spend some time organizing your photo library to prevent duplicate photos from accumulating again.
The key is to create a system and stick to it. Don't just drag and drop photos from your camera into a bloated "Unsorted" folder or your desktop, hoping to sort through them later. Chances are, the bloat will stay there until your laptop completely runs out of SSD space.
Use a file naming system that suits you and create a folder structure that's easy for you to navigate. You can organize folders by date, event name, common subject, etc. It's essential to be consistent and apply the system to all your folders, including the photos you store on memory cards.
Another thing you should do to avoid duplicates is to use an asset manager like Adobe Lightroom to import photos to your laptop. That way you'll never import the same pictures twice by mistake, as Lightroom will show you which images have already been imported.
Even when you start paying attention to how you save and organize photos, remember to scan your laptop with Easy Duplicate Finder regularly, so that you can catch any duplicate photos that manage to sneak in and keep your albums organized.
Tech Tips
- How to Display Hidden Files and Folders in Windows 11
- Why it's Important to Delete Duplicate Files on Windows PC or Mac
- Why It's Important to Delete Empty Folders in Windows
- How to Remove Duplicate Files from OneDrive?
- How to Manage Duplicate Files on Google Drive?
- Dropbox: Find Duplicates in Your Cloud Storage with Ease
- How to Compare Two Drives for Duplicate Files
- How to Use a Duplicate Video Finder to Manage Your Movie Library
- The Ultimate Guide for Choosing the Best Duplicate File Remover
- How to Find and Remove Duplicate Files on Windows and Mac
- Top 5 Tips to Help You Organize Your Files and Folders
- How to Free Up Space on Mac: the Ultimate Guide
- 10 Tips and Tricks for Working with Files on Your Windows 10 PC
- How to Effectively Manage Storage Space on Your Work Computer
- 5 Ways Duplicate Files Are Ruining Your Productivity
- 5 Great Ways to Clean Up Your Google Drive
- How to View Disk Space Usage on Windows and Manage It Effectively
- 5 Mistakes that Are Slowing Down Your Computer
- Computer Cleanup Challenge: Declutter Your PC in Less Than 10 Minutes
- How to Find Duplicate Photos on Your Laptop (and Get Rid of Them!)
- Tips and Tricks to Increase Google Drive Space without Upgrading Your Plan
- Why Does Dropbox Duplicate Files and How to Stop That from Happening
- How to Delete Duplicate Contacts in Outlook
- Manage Duplicate Files to Recover Disk Space
- How to Find and Delete Duplicate Files with Easy Duplicate Finder™